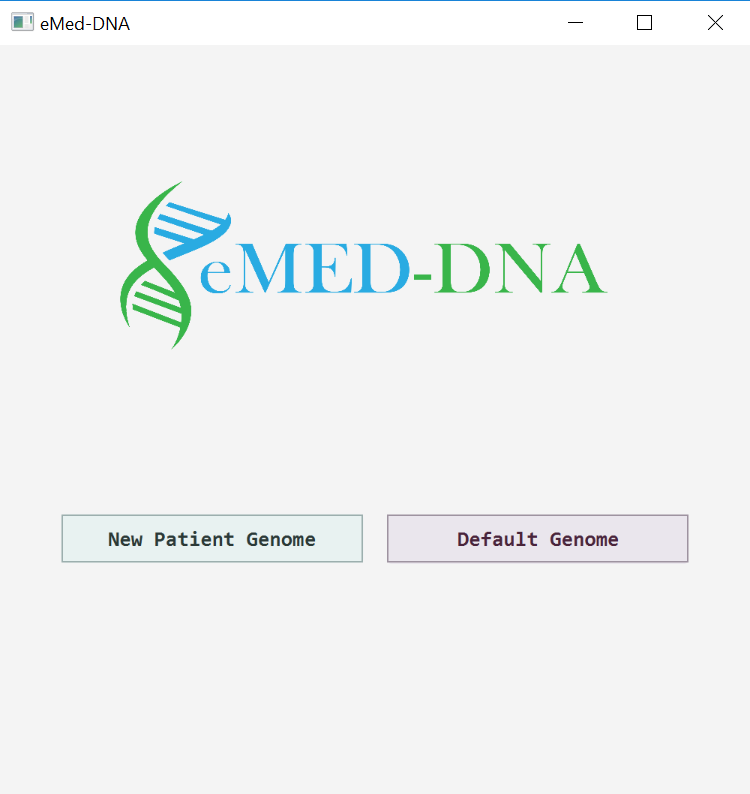
Home Page
This is how the user interface (landing page) of eMED-DNA looks like.
Input File Descriptions
eMED-DNA takes the genome of a patient as an input, and stores the clinical data files within their genome. It takes three files as input: i) A genome folder that contains the DNA sequence of the chromosomes in FASTA format, ii) A chromes_length.txt file containing the lengths of all chromosomes, and iii) A genes_list.txt file that contains the locations (start and end markers) of the genes in the chromosomes to identify the intergenic regions. The fasta files are named as follows: < chromosome number > .fa (chromosome number = 1,2, ..., 22, X, Y). Sex choromosomes 'X' and 'Y' are marked as 23 and 24, respectively. Below is a screen video to help understand the file types and contents.
Default Entries
In order to make it easy to explore and learn how to use eMED-DNA without having to provide a new patient's genome sequence, eMED-DNA comes with a default genome sequence GRCH38 (Genome Reference Consortium Human Build 38) obtained from ENSEMBL. A user can use this default genome sequence by selecting the button "Default genome". For this default option, users need to save the default input files (from here) in the same folder where the jar file of eMED-DNA has been saved. Please see the screen video below.
Entering new patient details
In order to use a new patient's genome sequence, one has to enter (as input) the three files as described above (Input File Descriptions). The input files must follow the suggested format. Please watch the Input File Descriptions video to fully understand the input formats. The screen video below demonstrates how to enter these input files.
Viewing Files
eMED-DNA shows a list of files that have already been stored in the selected genome in previous user sessions. A user can select, from the list, a filename to decode, so as to view the EHR. See the video shown below.
Inserting DICOM Files
The screen video shown below demonstrates how to insert a DICOM file.
Inserting non-DICOM Files
The screen video shown below demonstrates how to insert a non-DICOM file.
Deleting Files from Genome
A user can select one or more files (both DICOM and non-DICOM), from the list of saved files, to delete them from the genome sequence.
Saving Files from Genome Sequence.
A user can select, from the list of saved files, a filename to decode, so as to save it outside the genome. See the video shown below.